
A few weeks ago I posted the recipe for our rye sourdough ‘starter’ and thought it was high time I followed it up with the recipe for our amazing rye sourdough bread! We experimented for months to get the best balance of ‘crust and crumb’ and I think we’ve pretty much cracked it!
Sourdough bread is the oldest and most original form of leavened bread – made with wild yeast, packed full of tangy taste and much easier on your digestion than a regular loaf of bread. It contains loads of naturally occurring vitamins and minerals, plus uniquely balanced proteins and fatty acids and is massively more nutrient dense than commercially produced, highly processed breads.
We make two rye loaves a week and haven’t bought a loaf of bread in ages. It’s delicious fresh out of the oven or toasted with anything and everything on it! I really can’t imagine life without it…

Rye Sourdough Bread
There’s a little bit of magic involved in making and baking your own sourdough bread. This is how we do it, but I expect you’ll find your own little nuances…… have fun!
Ingredients:
- 560g rye ‘starter’ (see here for more info)
- 1150g organic rye flour
- 650ml filtered water
- 20g salt
- 30g molasses or rice syrup
- Olive oil/coconut oil for greasing the bowls and loaf tins
- Flour for dusting
- Chopped nuts and/or dried fruit (optional)
Method:
Stage 1: If you have a food processor with a dough hook, add all the ingredients to the mixing bowl and set to combine on a slow speed for around 10 minutes (you may need to occasionally scrape down the sides of the bowl).
If mixing by hand it’s going to take longer and be messier, but persevere because it’s worth it – put all the ingredients in a large bowl and combine/stir with a spoon until it starts to come together (about 15 minutes). Either way, you’ll end up with a big bowl of sticky dough, that looks a little like a very heavy cake mixture!
Stage 2: Lightly oil another large bowl and tip (scrape!) your dough into it. Cover with cling film and leave to rest and rise in a warm place (around 20C) for 1½ hours (we put ours in the airing cupboard).
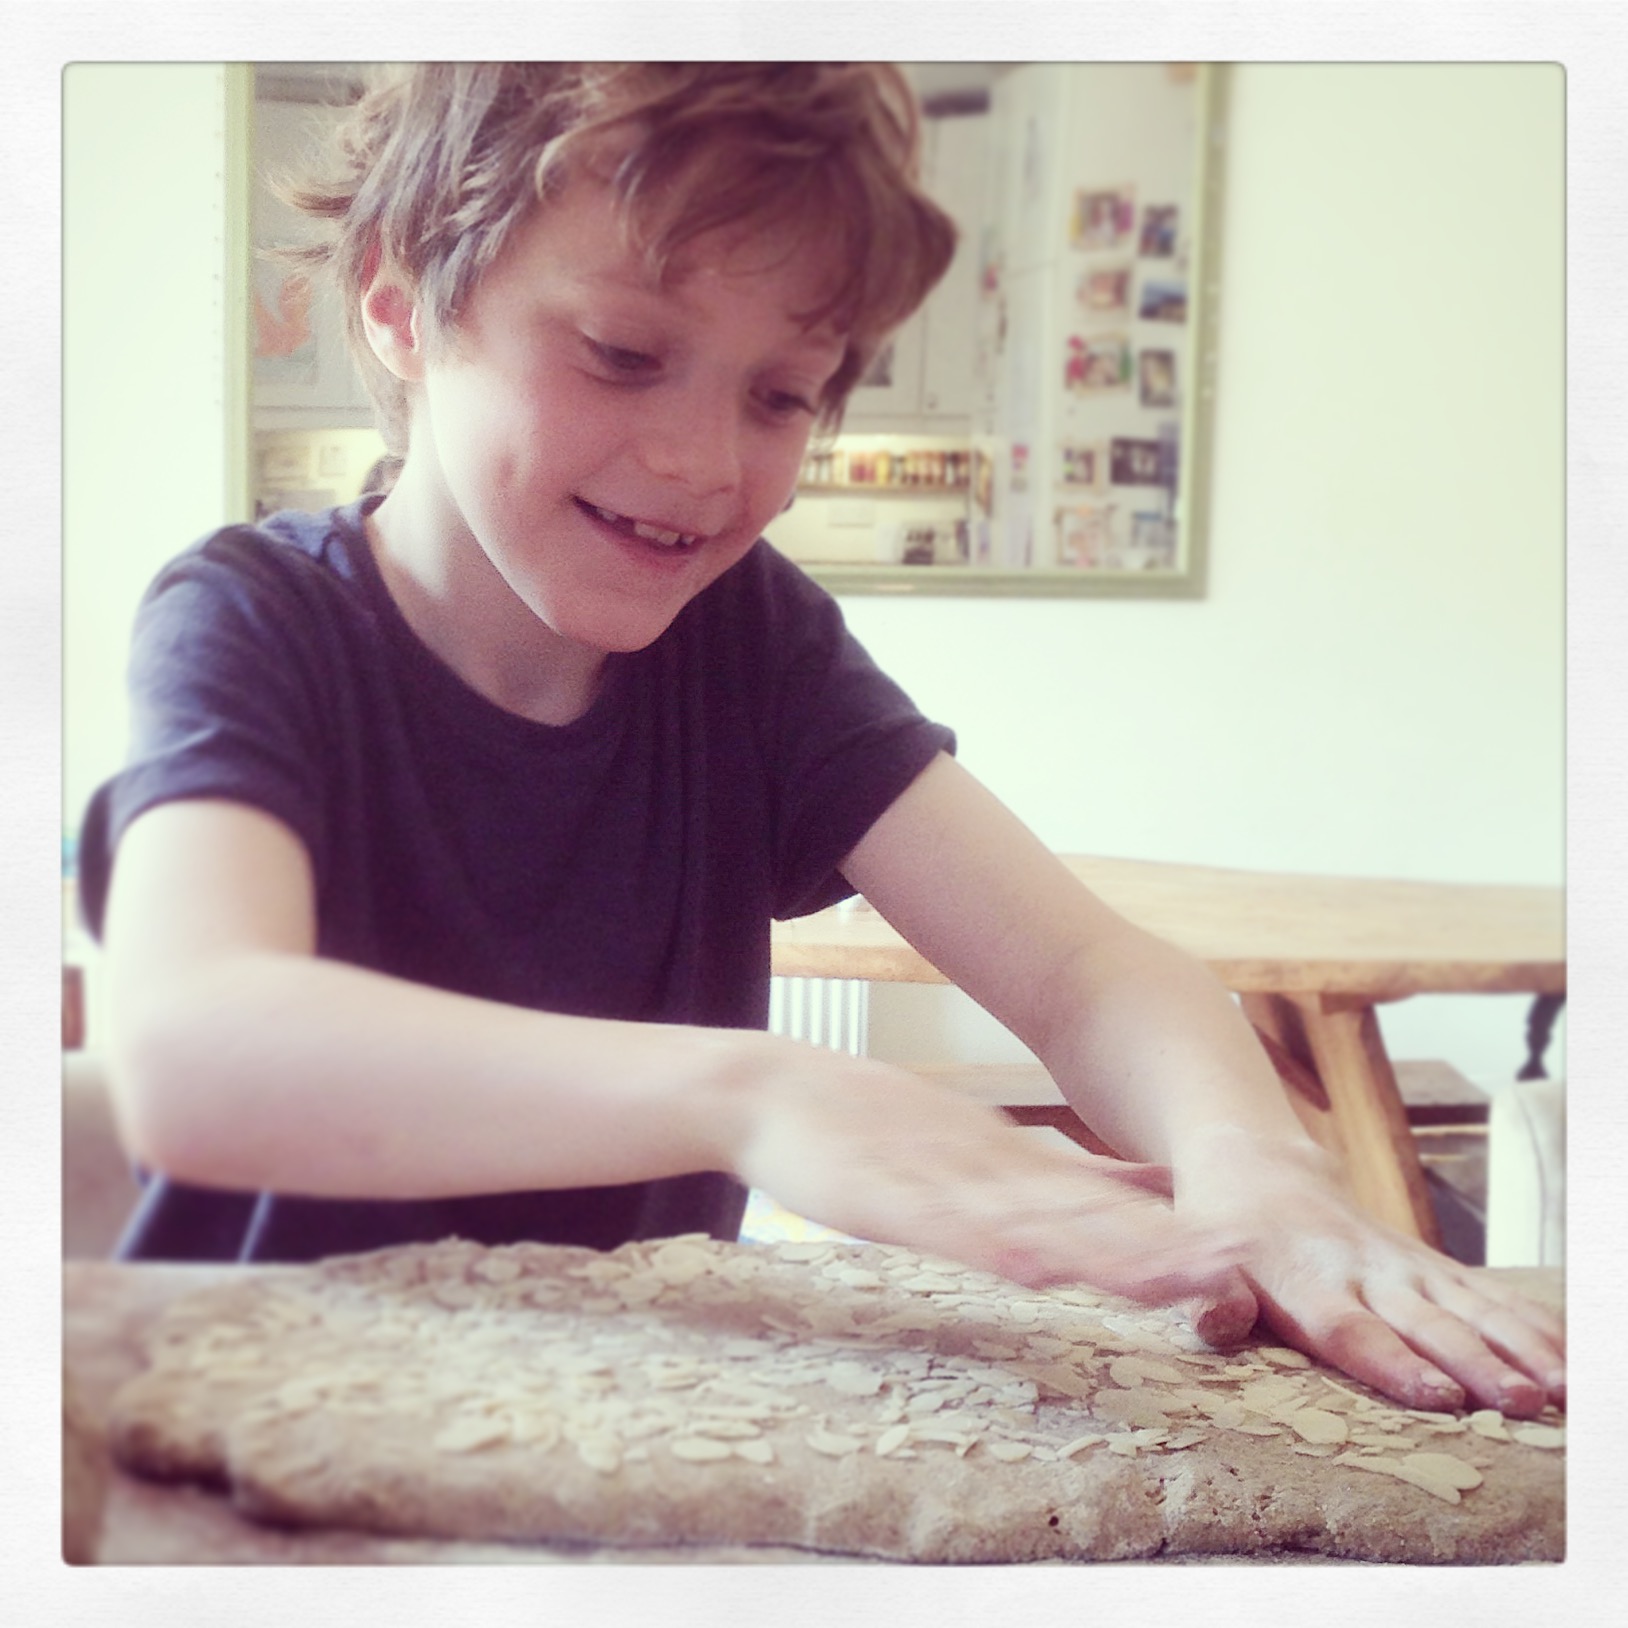
Stage 3: Lightly dust your work-surface with flour and tip out the dough. It should feel lighter and slightly puffy. I find this next bit easier with floured hands. To ‘knock it back’ press or pat the dough into a rectangular shape about 2cm thick. Now fold the left-hand 1/3 back over itself and then fold the right-hand 1/3 over the top of that. Using your knuckles ‘crimp’ the end closest to you and roll the dough towards yourself making a large sausage shape.
Stage 4: Using a sharp knife, divide the dough ‘sausage’ in half. Lightly oil two loaf tins (approx 12 x 25cm).
To make 2 plain loaves. Repeat stage 3 with each half, aiming to create a ‘sausage’ that fits your loaf tin. Place the loaves in the oiled tins.
To make a fruit & nut loaf. If you want to add chopped nuts and dried fruit, this is the time to do it. Simply sprinkle your chosen goodies over one or both of the rectangles and repeat stage 3. You will then need to repeat stage 3 two more times, in order to properly combine the nuts and/or fruit. Finally, aim to create a ‘sausage’ that fits your loaf tin and place in the oiled tins.
Stage 5: You now need to leave them to rest and rise for 8-10 hours covered with a puffed up plastic bag (this stops them drying out and allows them to rise without sticking to anything). Again, they need to be somewhere warm (about 20C). Be very gentle with your loaves from here on in, because any knocks will ‘knock’ the air out and undo all your good work.
Stage 6: Preheat the oven to 180C (fan) and place a baking dish full of water in the bottom to create steam (this makes an amazing crunchy crust). Lightly dust the tops of your loaves with a sprinkling of rye flour and gently place in the oven. Bake for 25 minutes. Turn the oven down to 160C (fan), turn the tins around (to ensure an even ‘tan’!) and bake for another 15-20 minutes.
To test if they’re ready simply remove from the tin and tap the bottom. If they sound hollow, they’re done. Hooray! Leave the loaves on a cooling rack to cool (we never quite make it that far!) and then tuck in.
Notes: We either bake our loaves in the evening, which means starting early the same morning or we bake first thing in the morning, which means preparing the dough the night before. Either way, you’re guaranteed the delicious smell of freshly baked bread wafting around your house. Mmmm….
Recipe by Homegrown Kate www.homegrownkate.com

This recipe is soooo delicious. Love that the children are encouraged to bake too.
LikeLiked by 1 person
Absolutely Di. I really enjoy passing on a love of baking, cooking, gardening and home-making to my children. Life lessons. xx
LikeLike